
How Are Acrylic Keychains Made? Cutting, Printing and Assembly
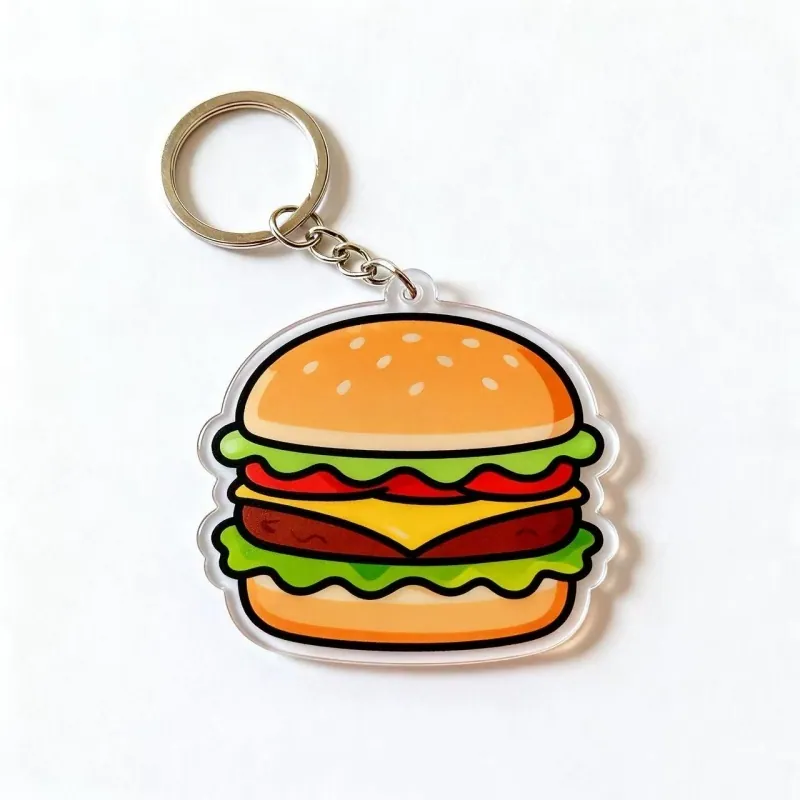
Acrylic keychains are cheap to make, fast to make, and easy to get wrong. No mould, no plating bath, no enamel kiln. The whole job comes down to a sheet, a cut file and a print file. Get those three right and the run stays quiet. Get them wrong and you find out on every single piece. Here is the sequence we run in our workshop, plus the design checks that decide whether your logo still reads when the charm is the size of a postage stamp.
What an acrylic keychain is really made of
Acrylic is PMMA, a clear thermoplastic that cuts cleanly, holds print and doesn't shatter like glass. The Wikipedia entry on poly(methyl methacrylate) has the chemistry if you want it. You probably don't. You need to know that the sheet is where everything starts.
Our standard stock for custom acrylic keychains is 3 mm opaque acrylic. That thickness is a trade-off: stiff enough to survive a pocket full of keys, light enough not to drag. Thinner feels flimsy in the hand. Thicker gets heavy and needs deeper hardware.
For brands with a sustainability claim to protect, there is a recycled route. Black and white acrylic charms can be cut from 100% recycled acrylic (R-MMA), made from offcuts that would otherwise go to landfill or incineration. It performs like virgin acrylic: scratch resistant, colour stable, free of VOCs and HFCs. Put that on the backing card, because buyers do read it.
Compared with the alternatives, acrylic sits in the cheap-and-colourful corner. Metal keychains carry plating and enamel work, which look premium and cost more. Soft PVC charms are chunkier and give you 3D shape rather than flat detail. Acrylic gives full-colour print on a flat shape with no tooling to amortise.
Step 1: the design check before anything gets cut
Most acrylic problems are design problems in a manufacturing costume. Look at three things first.
- Smallest text. If you can read it on a monitor, that proves nothing. Tiny type fills in and turns to mush once printed and cut.
- Distance from the cut line. Colour that runs right to the edge leaves a hairline of clear material when the laser passes, because the cut path has width and alignment is never perfect. Give the artwork a margin and the edge looks deliberate.
- Contrast. Two mid-tones side by side read as one shape at arm's length. Dark against light survives.
Then think about reading distance. A charm on a bag strap is seen from a metre away, moving, in bad light. Two clear words beat a paragraph in tiny type. That is the blunt version, and it saves a lot of reprints.
Step 2: laser cutting the outline
Cutting is a vector path, full stop. Laser cutting follows a closed line, so the outline in your file becomes the outline of the charm. Intricate is the whole point: floral outlines, character silhouettes, hollow centres, the shapes that would cost a fortune in tooling if this were zinc alloy. With a laser there is no tooling, which is why short runs and mixed designs in one order make sense.
Two practical notes. Any internal cutout is simply another closed path, so hollow designs cost the same as solid ones. And a floating island of acrylic needs a bridge to the main body, or it drops out onto the bed.
Step 3: laser engraving for the frosted look
Engraving is where acrylic earns its keep. The laser takes the polished surface down a fraction and leaves a matte, frosted mark that scatters light. On clear sheet it reads pale and bright. On a coloured or black base it reads lighter than the surface around it. It is always one colour, and that colour is the acrylic, not your Pantone number.
Good for small lettering, member names, serial numbers, a repeat pattern, a quiet logo on the back. Texture without killing transparency, so a clear charm stays clear.
Bad at gradients, photographs and serif hairlines. One tone, no shading. Anything that depends on colour has to be printed instead.
Decide which face is the reading face. Engraving on the back of a clear charm shows through the front, and where print sits behind it the mark can look doubled.
Step 4: UV printing the colour
UV printing does the heavy lifting on custom acrylic keychains with real colour. Inks cure under UV light the instant they land, so they sit on the surface instead of soaking in and the detail holds. Fine enough for illustrations, gradients and photos. Colours are matched to Pantone Solid Coated, which is the reference we ask for in artwork.
One side or two, your call. Plenty of designs print on the back of a clear charm and are read through the acrylic: the image is mirrored in the file, the gloss face stays untouched and the print is protected. Print on the front and you get a different finish, with the ink exposed.
Clear acrylic gets a white ink base under the colour. Without it, every colour goes see-through and the charm looks washed out. Remember that when you approve a digital proof on a white screen: the charm will not have a white screen behind it. Ask how the design reads on the base colour you are actually ordering.
Step 5: flame polishing (optional, often worth it)
A fine flame passes along the cut edge and melts it just enough to flow. Edges go glossy and glass-like instead of matte white. On a transparent charm it is the difference between "laser cut" and "finished".
Two catches. It is an extra step, so it adds cost. And heat rounds things: a hair-thin spike or a very tight inner corner can soften or pull back. If the shape has fragile details, either skip the flame or accept a slightly softer silhouette. Order a sample of that exact shape before committing to a large run.
Step 6: the hole, the jump rings and the connector
Small part, high risk. The hole is drilled to 3 to 5 mm depending on the hardware, and positioned clear of the artwork so it does not punch through a logo. It is the weakest point on the charm. A hole set too close to the edge, or inside a narrow ear of the shape, will tear out. Not maybe. It will.
Then the hardware. Tightly closed jump rings, and often a small coloured connector joining the metal ring to the acrylic charm. That connector is a two-second decision that changes the look: black on black disappears, a bright colour becomes part of the design. Check the ring closes flush, too. A visible gap is all it takes for keys to work loose.
Step 7: layering and bonding
Flat is fine, but depth sells. Multi-layer acrylic charms are bonded with clear adhesive: a printed layer, a clear cap on top, sometimes a solid colour layer behind. The adhesive has to stay clear, because any haze shows straight through the top layer.
Layered builds do what a single sheet cannot. A solid colour silhouette behind a printed face. A second design on the back layer so the charm works from both sides. A clear window with something printed behind it. All of it adds handling, so plan it before you approve the proof. Our hollow laminated acrylic keychains show what layering plus internal cutouts can look like.
The whole process on one page
| Stage | What happens | What to check before you approve |
|---|---|---|
| Artwork and proof | Vector file prepared, colours set to Pantone, digital proof issued | Spelling, cut line, which side prints, which side reads |
| Laser cutting | Outline and internal cutouts cut from the sheet | Bridges on floating parts, no detail finer than the beam can hold |
| Laser engraving | Frosted matte mark burned into the surface | Text size, single-tone artwork only, front or back face |
| UV printing | Colour cured onto the sheet, white base on clear stock | Colour build on the real base colour, one side or two |
| Flame polishing | Cut edge melted to a gloss | Fragile spikes and tight corners, sample first |
| Drilling and hardware | 3 to 5 mm hole, jump rings, connector, key ring | Hole clear of artwork, enough material around it |
| Layering | Layers bonded with clear adhesive | Layer order, alignment, adhesive clarity |
| QC and packing | Inspection, bagging, backing cards, cartons | Barcode, hang tag, individual bag or bulk |
For the history of the ring itself, the keychain article on Wikipedia is a quick read.
Packaging changes your unit cost more than you think
Standard options are poly bag, OPP bag, bubble bag, gift box or something custom. A retail-ready version adds a printed backing card and a hang hole; a barcode on the back turns a giveaway into shelf stock. Individual bagging protects the print but adds labour, so bulk bagging is cheaper per unit if your event team hands them out from a box.
If you need packaging we do not stock, our purchasing team sources it, along with special fittings and trend items, and we assess the supplier before the order goes ahead. That beats arranging a card printer on your side of the ocean and hoping the timing lines up.
How long the whole thing takes
For acrylic, our production notes put the run at 5 to 10 business days after you approve the proof. General lead times are 3 to 8 days for a sample and 7 to 15 days for bulk, depending on the item and the queue. Urgent work can go by express courier; larger orders ship by air or sea. If your event date is fixed, say so in the first email, because that changes how the job is scheduled.
Start an order with us
Send the artwork (AI or CorelDRAW preferred), the Pantone colours, the finished size, one side or two, and the hardware you want. If the design is not finished, we produce a free artwork proof for you to check.
Reach us at [email protected] or +86 181 2281 1289 on phone or WhatsApp. The office is Room 608, 6th Floor, Building A, Shuguang International Building, Futian Street, Yiwu, Zhejiang, China. Sales are online around the clock and reply within 8 hours. Payment is T/T, L/C or PayPal.
Browse the custom acrylic keychains range, see the wider keychain collection for metal, PVC, leather and fabric options, or contact us with your brief and deadline.
Frequently asked questions
How are acrylic keychains made?
A sheet of acrylic is cut to the outline with a laser, decorated by laser engraving, UV printing, or both, then the cut edge may be flame polished for a gloss. The hole is drilled, jump rings and a connector are fitted, extra layers are bonded if the design calls for depth, and each piece is inspected and packed. In our workshop the run usually takes 5 to 10 business days after you approve the proof.
Can I print on one side or both sides?
Both are possible. A lot of buyers print on the back of a clear charm and read it through the acrylic, which protects the ink and keeps the front glossy. Double-sided printing works too, and it suits charms that need a second design on the reverse. Tell your supplier which face is the reading face before the file is finalised.
What is the frosted effect on an acrylic charm?
It is laser engraving. The beam removes the polished surface and leaves a matte mark that scatters light, so it reads pale on clear acrylic and lighter than the base on coloured or black sheet. It adds texture without hiding the transparency, but it is a single tone, so it cannot reproduce gradients or full-colour artwork.
Is there a minimum order quantity?
We accept customisation regardless of order size, so small runs are not a problem. Ask your sales contact about free samples, bulk pricing and repeat orders, since reorders of the same design do not carry a new mould fee.